
Does anyone out in the land of all things art and quilty know the name of the transfer ink used to make Iron On Transfers. I don't want the transfer paper/sublimation type because they leave a plastic film. I believe you can print on 80gsm plain paper and then with print side down, iron your chosen design on to cotton. Just like in the olden days when you bought the packs of transfers that are printed on tissue paper type products (along the lines of the Aunt Martha range). It is some sort of ink for either ink jet or laser (not sure which printer type). I am talking about doing multiple copies of one design. Some people have had luck with laser print straight from the machine but this particular ink seems to give consistent results.
If you know what the magic is, would you please drop me a line either here or tiramisue at bigpond dot com!!
Thank you.
Sue xxx
Tuesday, October 29, 2013
Monday, October 14, 2013
Ham Bag Tutorial

My husband loves ham. Every Christmas he comes home with a very large ham. So, I have made him his very own Ham Bag. He can keep his prized ham wrapped to perfection, until three days after Christmas when I can face ham no more and make him chop it up and put it in the freezer......


To make a ham bag or two, you will need:
Tea towels - calico also works but one hot wash and getting the wrinkles out is more work than I can stand.
I bought a four pack from Safeway for about $8. I needed some right there and then: you can no doubt get them cheaper, just make sure they are cotton.
The embroidery was completed first. I used two of the four co-ordinating designs for the bag. The one I thought would stand out the most became the applique and I have one left - I will make a smaller one for use as the ham shrinks!
The bag is made with the applique being on the 'flap'of the bag. Once you have decided how big you need to make your Ham Bag, iron a fold above the design area and set up your machine to embroider the applique and position the writing where you like. Each design has a basting stitch to keep the tea towel in place if you are not hooping.
Once the design is complete, stitch two tea towels together across one end. You now have the embroidered towel and a second towel together. I used the hemmed ends as a guide line for stitching ( in the picture you can see the label). Make sure you secure each end and then trim off the hems.


(You can see in the photo that I used some clear elmers glue to keep the hem folded until I have stitched, this will wash out). With the wrong sides together, I simply ran a seam up each side to create a bag. The embroidered part of the tea towel now sits over the top as a flap.

Of course, if you really want to keep it simple, embroider the design on a tea towel, fold tea towel in half and ta da, Small Ham Bag!!! For the bigger design, embroider on one tea towel and then stitch together with a second tea towel and double ta da!!!
I would recommend giving the bag a good wash before use. I used spray starch to keep the fabric crisp whilst stitching, but I don't want starch on my ham!! HOW TO USE THE HAM BAG
After the ham is removed from its packaging, the best way to keep it from drying out, is to simply soak the Ham Bag in the following solution, wring it out, and place the ham inside the bag and store in the coolest part of the refrigerator. Change over every couple of days and repeat the soaking.
SOAK SOLUTION: 4 cups of water and 2 tablespoons of vinegar. That's it!!
These are a neat little hostess gift at Christmas time - and take no time at all to whip up.

The applique and wording is now available over in my Etsy shop - Ham Bag. Comes in two sizes - 5 x 7 (Pig 6.93 x 3.76inches /Wording 6.94 x 1.76inches) and 8 x 12 (Pig 10.84 x 3.02 inches/Wording 11.50 x 6.22 inches).
And remember, it is only 70 days to Christmas as I write this........
Sue xxx
Wednesday, October 9, 2013
SANTA
Santa is up and ready to go over at Etsy. Sizes are 4x4 filled, 4x4 applique, 5x7 applique, 6x10 applique and 8x10 applique. There are two styles of applique for each design. One the standard satin stitch and the second is a more open satin stitch.


 And remember, there are only 76 days to Christmas!!!
HO HO HO
Sue xxx


HO HO HO
Sue xxx
Tuesday, October 8, 2013
NEED A HAND???
Finally finished test stitching the skeleton hands. They are now available over in my ETSY shop.
 Designs formats are PES, DST, EXP, JEF, SEW, HUS, SHV, VIP all in one zipped file for $3. There are four designs (right hand bent thumb, left hand bent thumb, right hand and left hand) in each size which include 4x4, 5x7 and 6 x 10.
Sue xxx

Sue xxx
Sunday, October 6, 2013
STRAWBERRY SHORTCAKES

STRAWBERRY SHORTCAKES
2 CUPS S R FLOUR
1/2 CUP CASTER SUGAR
250 GRAMS BUTTER - cubed/chunks
1 EGG
1/4 CUP CREAM
1 TEASPOON VANILLA ESSENCE
THICKENED CREAM FOR FILLING
VANILLA ESSENCE TO TASTE
SUGAR TO TASTE
STRAWBERRIES, HULLED AND CHOPPED

Place flour and sugar in food processor and give a quick "whizz". Add butter pieces and whizz again until mixture resembles bread crumbs. Add egg, cream and vanilla and mix until a soft dough forms. If necessary, you may need to add a bit more cream to make the mix come together. Add 1 tablespoon at a time. Be Gentle with the Dough. Don't over mix. As soon as the mixture comes together, stop the food processor.
If your are making one big shortcake, line the cake tin with baking paper and place dough into cake tin. Press gently and spread the dough over the base of the cake tin. Place in the oven.
If you are making individual shortcakes, I got very techy here and weighed the whole ball of dough and then divided by 24. This gave me about 33 grams for each cake. I know, I know, fussy fussy, but it kept them all the same size and depth. Again, gently press the dough into the tin base.
Cook until golden. The individual cakes took about 12 minutes or so, and the bigger cake will take somewhere around 20 minutes. Just keep an eye on them and don't over cook them. Once golden remove pan from oven and leave cakes in tin for 5 minutes to cool a little. Turn on to a cake rack to finish cooling.
Use a serrated knife to carefully split the shortcake/s. With the heart shape, I did a small cut from the pointy end of the heart, and then working from the opposite end, sliced the hearts open. Less bits fell off doing this!!
I finished mine with a custard and cream filling and added strawberries. Whipped cream will be fine.
Place on a fancy plate and dust with icing sugar.

Now, some craftiness. I left the men in my life to fend for themselves for a couple of days last week and went up to Merimbula. Naturally, there is a breakfast shot:

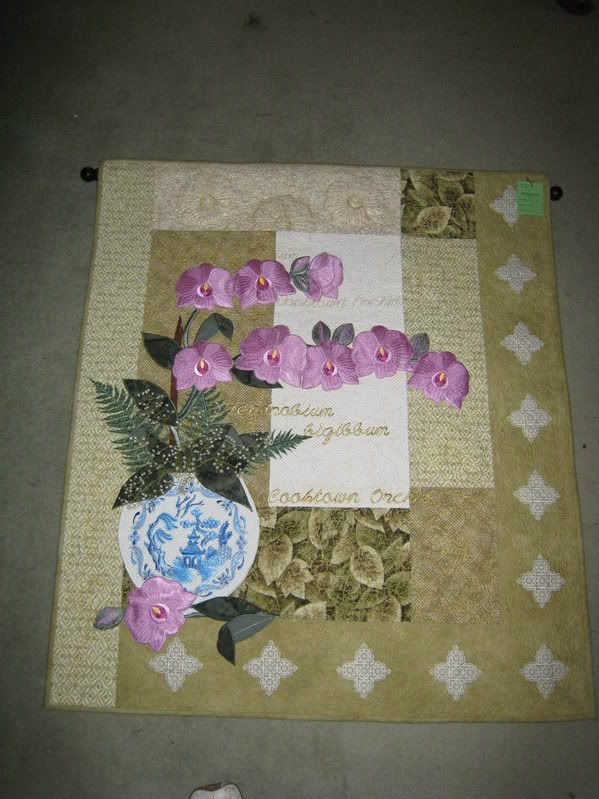
Have any of you been to the New York Public Library site? There is the most amazing collection of prints that are down loadable. I had been looking for sea life pictures and put these together in plain white frames. The photos are ordinary, but you can see what they are.


I took a small suitcase with me, filled with a few crafty things to do. Mostly seaside tackiness, but a bit here and there is okay. I am inspired by Pinterest frequently and had seen a variety of letters done with a beach theme, so did mine in my usual over the top style.


These are now hanging in the bathroom.

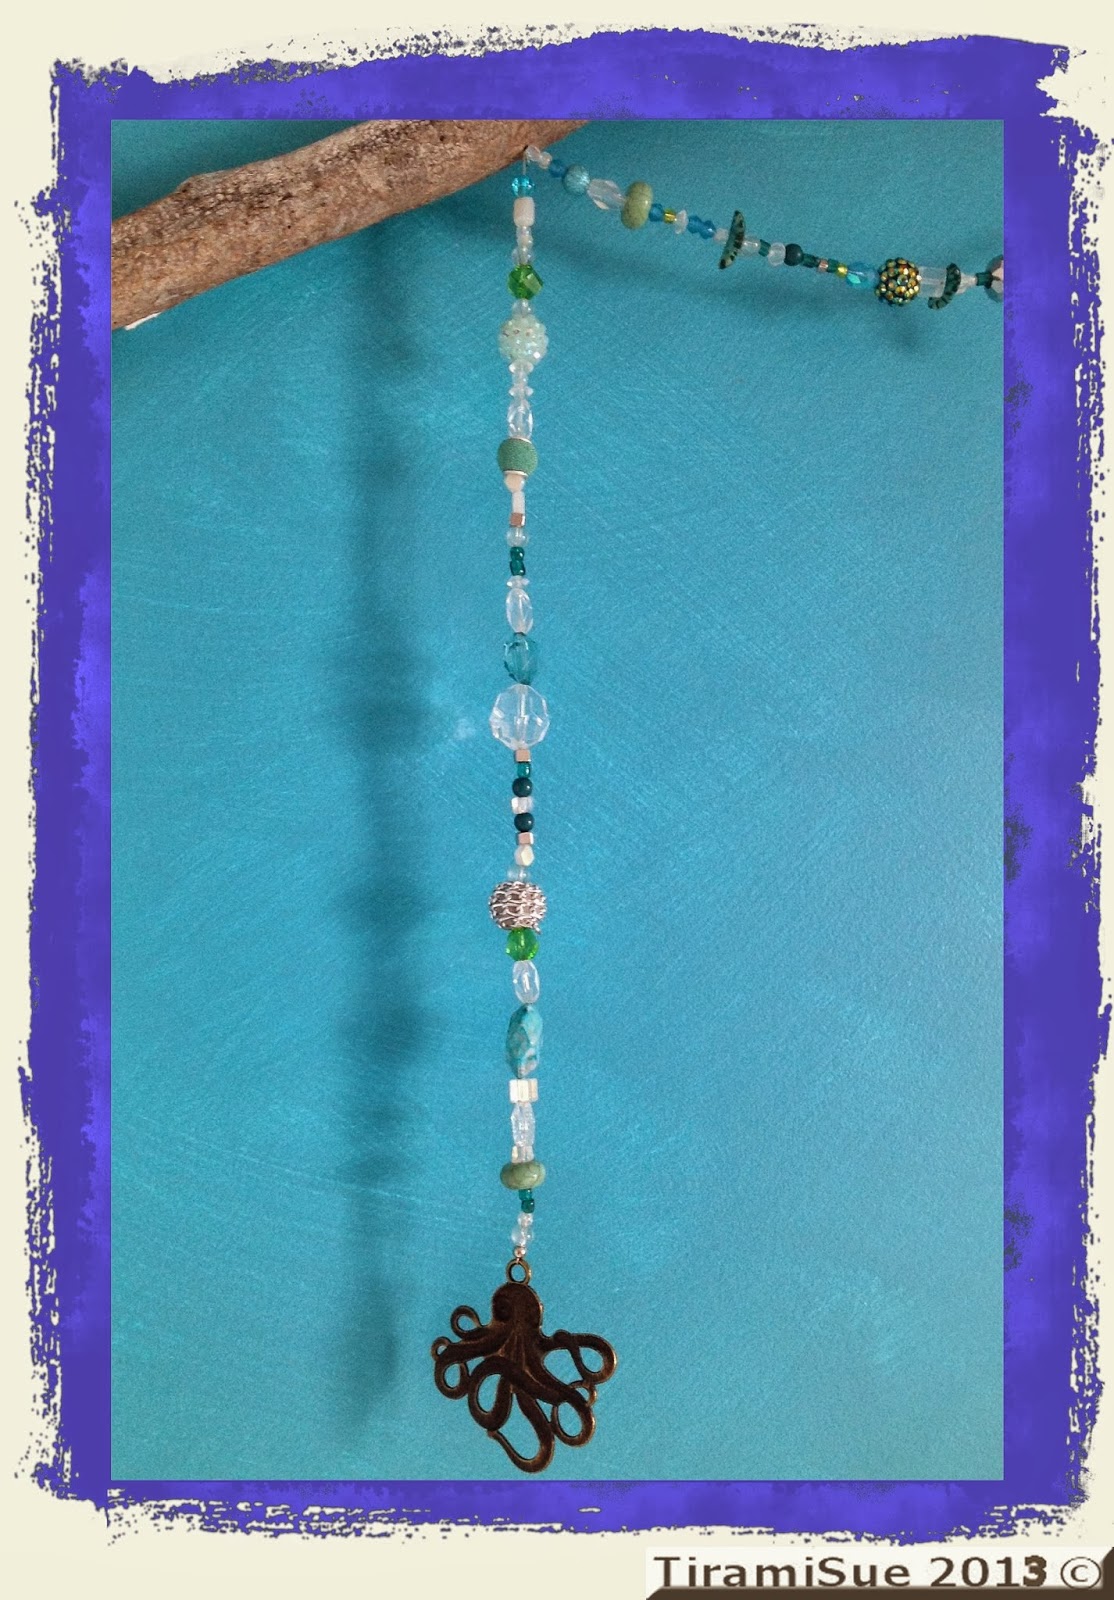
My next piece was also Pinterest inspired. I bought the stick from a home décor shop and it has been languishing around the garage for some months (I know, I live in the bush but I bought a stick - I don't trust the ones in my backyard not to have a flock of critters living in them). I have been collecting sea themed beads and charms. Having used lots of my stash up for these pieces, it means I now have an excuse to go buy more. The mermaid that is in the letter above and hanging in the middle of "the stick", was a book mark I picked up at one of the craft shows. The beads sparkle in the morning sun.


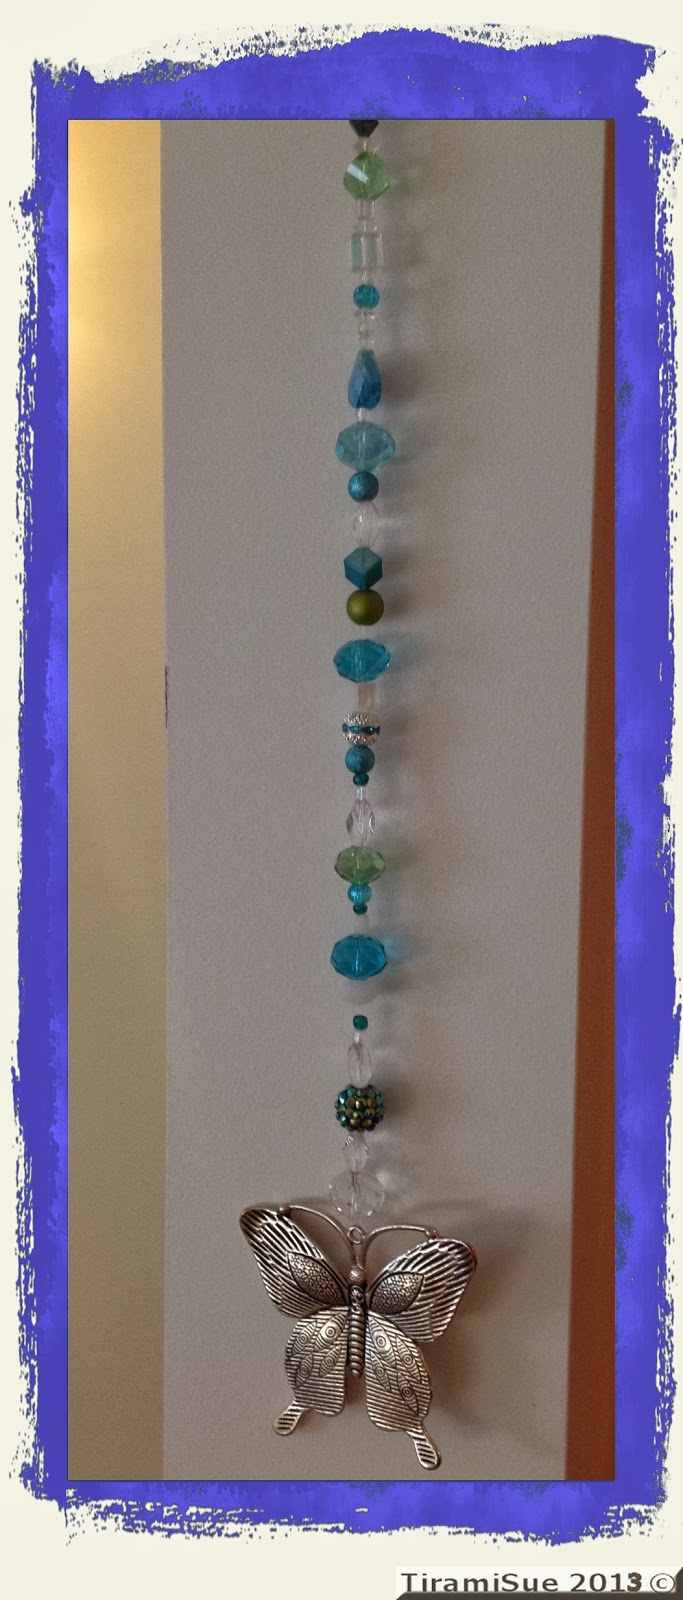
I did the butterfly strand, just to use up some more of the beads. This is a single strand. I used a dab of E6000 in between a couple of the beads. I figured if the nylon thread gave way, not every single bead would be able to escape. Again, in a sunny spot and sparkles very prettily.
I took Bernice with me so in between the beads and seashells there was also a jelly roll quilt top in the process of being completed. There are not enough power points where I was working so the ironing board was in the kitchen, the machine was on the table with half finished sea shell letters, paint brushes. It was all good! My husband flew up to Merimbula on Tuesday last week. He had a shocking flight. The weather in the eastern states has been a bit wild. I had to drive down and pick him up at the airport - I saw him get off the plane with a white bag........his face was grey. When we got home, his only comment was, "good to see you have the place looking like home".
Whilst we were waiting at the airport, O'Reilly thought he might try the front seat for size. He was very happy when dad arrived.


Friends joined us for dinner one night. Sir Pester Alot ended up being blocked by the clothes airer. He is not happy with the new "no snacks for you" regime.


So it was a nice few days away. Suitcase came back a little lighter and a roll of fabric got used. Still have a few seams to stitch. I remember when I have sewn about 8 seams that I hate piecing, but at least I have a nearly finished quilt top and then I can applique all over it.
Sue xxx
Subscribe to:
Posts (Atom)

 Quilter Blogs & Store Search