
 I finished off by quilting around the flower, then added a stem. The piece was then made into a cushion complete with zip!

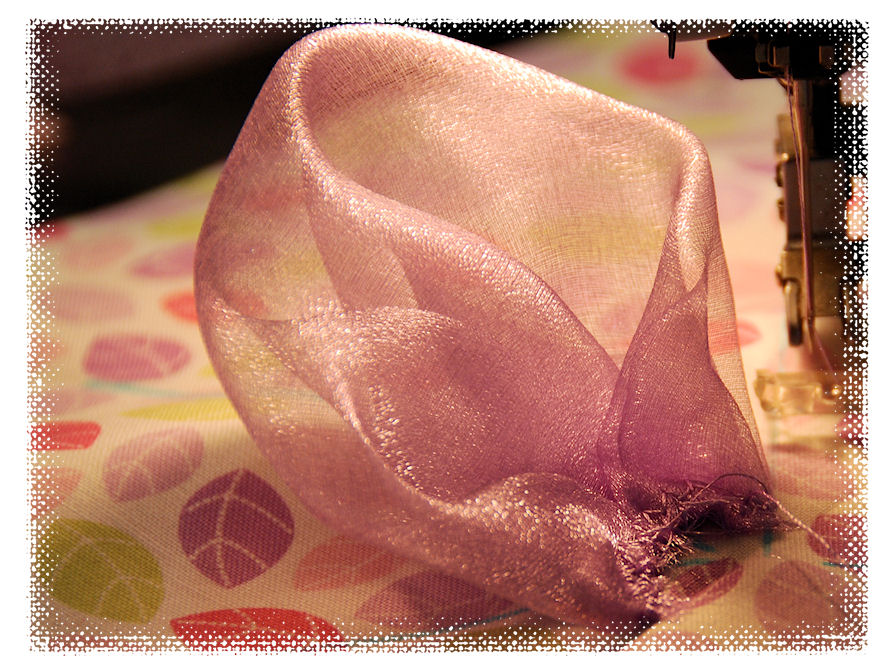
For this little quilt, I cut background fabric to 10 1/2 in squares. I purchased 1 metre of each of the colours of organza (naturally I made two trips to the shops because 1/2 a metre didn't go very far). Cut the organza into squares that measure 6 1/2 inches. The organza is a little fiddly and doesn't keep it's straight edge very well when you try to move it - just cut one row at a time and then adjust as necessary as you cut. Organza is an extremely tough and very forgiving.


Now you can stitch the petal using a nice size zigzag - length 2/width 3. Stitch at a point where you will cover and hold all layers of fabric - this will NOT be on the very edge. My Pfaff has a nice wide foot and I used the edge as a guide.

You can see here how far in I actually started stitching. As this fabric is a little slippery, I would also recommend that if you are going to chain piece the petals, you do a couple of back stitches, otherwise you may find as you pull the petals away from the machine, the thread will rip right out.


Now prepare your background fabric. I cut my squares at 10 1/2 inches. To mark the centre, I folded into four and then lightly pressed. After pressing in some marks, I drew 5 lines to give a rough guide for petal placement.


To attach the petals to the background, I used my free motion/darning foot. I still had the machine set to zigzag. As the petals are going to overlap, sew the petals in a fashion that gives the look of a couple to the back and others to the front. As I sewed the petals into place, I pushed them under the foot so they finished with a slight curve. Again you can use something to help get the desired shape.


Once more with the free motion foot, zigzag the leaves into place. On some of my flowers I used two leaves, others had only one. You are best to add the leaves after the flowers are in place - you can see if and where they are needed to balance out the flower. As you stitch the leaves into place, make sure your flower petals are pulled out of the way.


I have given this quilt a wash 30degree celcius - normal - nothing delicate and the organza has come out perfectly. It is certainly a fabric that can easily be incorporated into a quilt.


In my next post, I will show another sample of these flowers done in cotton fabric, and also making use of some of your decorative stitches on the sewing machine.
Bye for now.
Sue xxx

 Quilter Blogs & Store Search
No comments:
Post a Comment
I would love to hear from you, just so I know I am not talking to myself - the cat is tired and so is the dog!