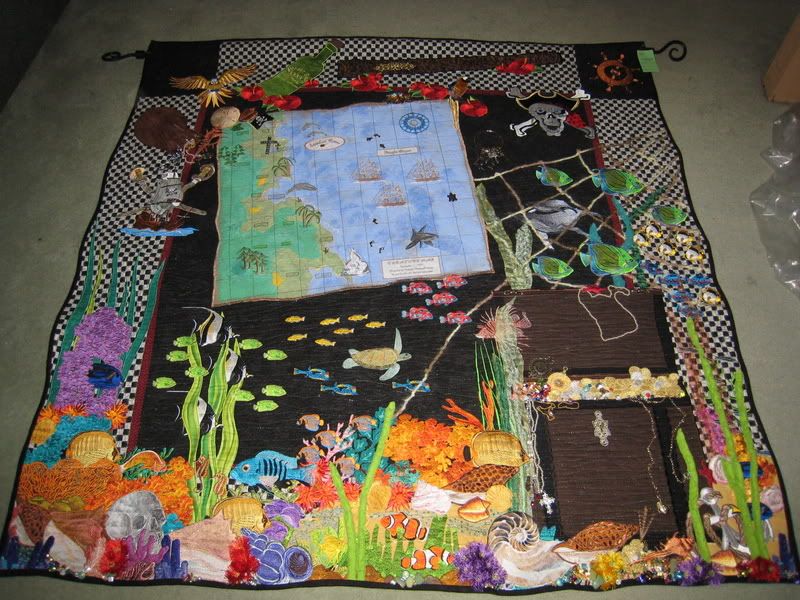
I have made a good start on a quilt/bedspread for the beach house. I had a bazinga moment on how to deal with the bulk (the joining will come in another post), so with a hundred ideas going around my head, I got cracking.
I am keeping the colours simple - aqua, grey and white. The white has a silver swirl through it. The backing will be white - 'are you insane?' Quite possibly!! But hopefully it will all become clear in the end.
So here is the first strip.
I digitized the boats in three sizes. The largest boat is completed in two hoopings - the sails first and then the cabin, hull and waves in the second hooping. Now for those who embroider by machine and who may not have the confidence to tackle lining up their work for more than one hooping (this includes me, who persists in making up really large designs because they look stunning), I may be able to give you hand - I did five big boats with no unpicking - it's a miracle..................
So, where to start, where to start. First, using your software, print up a template for each piece of the design - I don't mean all the little bits, I just mean part 1 and part 2. Where necessary, stick all the bits together to give yourself the complete picture. Make sure you line up the centres.
Now, the fabric needs to be marked in some fashion. I find that lightly pressing a fold line works as well as anything. If your fabric going to be difficult to iron, use a piece of masking tape to roughly mark the vertical and the horizontal. The masking tape can be drawn on using your quilting ruler (make sure everything is square) You can leave the tape in place until you are ready to stitch.
So back to the marking. Once you have marked in lines to keep the embroidery straight, you are going to need to make 'positioning' marks. This will be the centre of each part of the design. This is where the template that you stuck together earlier comes in to play. Place the design into position. Where the design is placed is entirely up to you. The vertical line is probably more important on some designs than the horizontal. Once you are happy with how the design is going to be placed on the fabric, use a pencil or chalk or whatever you like to use, and make a little mark on the fabric (or on the masking tape). If the design is a two part design like these boats, then you will need to find the centre of each piece. Do make sure the design pieces overlap if necessary - all designs sold will have the order of stitching marked on them or in accompanying text

As with many arts involving cutting, the old adage of "measure twice, cut once' is fairly sage advice to follow. In the picture above, I was using the join in the fabric as the horizon. So I checked and double checked to make sure I had everything lined up and tickety boo!!
As you do when you have been practicing the dark art of machine embroidery for a long time, all of a sudden you are struck by an epiphany - no doubt someone else has laid claim to this piece of brilliance but - I suddenly realised that if I folded the outside pieces of my template back on the centre lines - ta da the two most important points that need to be marked are there - in position - in the right place - brilliant!! So do that now, make a mark - x or rather + marks the spot - top and bottom.
So, now the fabric is marked up - what's next. Well, you are going to need to stabilize. Stabilizer of some form is necessary with any embroidery, what type you need is entirely dependant on the fabrics being used. For this project, two layers of medium weight iron on stabilizer was used. Position the stabilizer behind the fabric, make sure there is sufficient to be hooped well. As iron on was being used in this project, I gave the fabric a burst with the iron to make sure the stabilizer didn't move whilst trying to do the hooping. Again, if the fabric you are using is not going to take an iron, pin or lightly take the fabric to the stabilizer - don't want to pin or tack - how about a shot of glue.
Now the tricky part is getting the fabric lined up with the top hoop, whilst trying to get the bottom hoop in to position. This is where the masking tape comes in to play again.
Line up the top hoop on the fabric centering the x/+ on the fabric with the centre of the hoop. Now, remember that piece of plastic with all the grid markings on it, the one you have somewhere in the art room - well this is when it comes in to play (I had to search for mine too, you are not the only one who ignored its presence!) Lay it in the hoop, matching up the appropriate notches.
You will now be able to check that the top hoop is in the right position. If you can see that the marks you made aren't lining up, adjust the top hoop until you are happy with the placement.
Now, carefully remove the template from the hoop. Cut or tear some masking tape, longer than the width of the hoop. I used two pieces, you may want to use more. Line the tape up with the sides of the hoop and press firmly on to the fabric, making sure that there is contact with the hoop. You are using the tape to hold the hoop and the fabric whilst sliding the bottom hoop into position.
Slide the bottom hoop under the fabric and hoop and then snap the top hoop into the bottom hoop. Check with your template that everything is still in place. Now take the whole lot to the machine. I left the tape in place whilst sewing out the sails as the basting line fell within the masking tape area. Now for those who used the masking tape to mark the centres of the design, check the centre lines up with the needle. Move the design as necessary and then remove the centre tape. You are ready to stitch.
I was able to baste both sail fabrics in to position without having to remove the hoop for each one. The hoop was then removed from the machine (don't unhoop the fabric) and both fabrics cut back to the stitching lines.
I use duckbill scissors for most of my trimming. Sometimes a pair of small sharp scissors are needed for very fiddly bits. Take care with the fabric in the hoop, you do not want to shift anything. Cut slowly, and neatly. It is not a race. Rough cutting results in pokies, not the look we are going for!!
Above you can see both the fabrics have been trimmed and are ready for satin stitches and other decorative elements.
Now every time you remove your hoop from the machine to trim, make sure of two things when you put the hoop back:
1. Put it back in the machine the same way - not upside down.
2. Check underneath that all the remaining fabric is out of the way.
Check underneath that all the remaining fabric is out of the way.
Check underneath that all the remaining fabric is out of the way.
Here is what happens when you get too big for your britches and you don't head the advice in point No.2.
This can be a design game changer. Luckily I only lost 3 inches off the sky!
Repeating the above process, I was able to line up the cabin and hull perfectly.
For the second part, the basting stitches just landed on the masking tape, so I removed the tape before it was sewn in to the design.
You may be able to see some chalk lines I made prior to quilting - this helped me keep 'the waves' running straight - ish!!
Other ideas:-
# To keep the seam allowance from becoming a design feature, I used pinking shears to trim up the seam allowance and I pressed the seam open. This made a huge difference and the shadow effect is nil.
# When using the white fabric for the sail, I new there would be "show through" where the sail crossed both the sea and the sky. I double the fabric and this was a big help.
I hope this post gives those of you who machine embroider a way to tackle something a bit tricky. If something isn't clear, I will be more than happy to help in any way. Feel free to contact me - address in the side bar.
Next I will be back with whales and buoys.
Sue xxx
NOTE: Sailboat designs are now up on Etsy - here!




 Quilter Blogs & Store Search